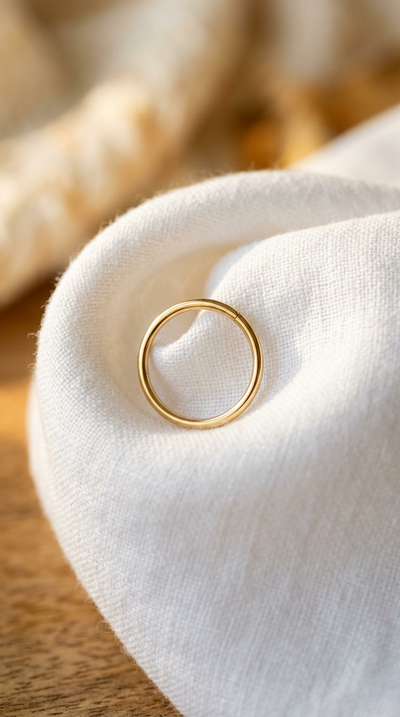
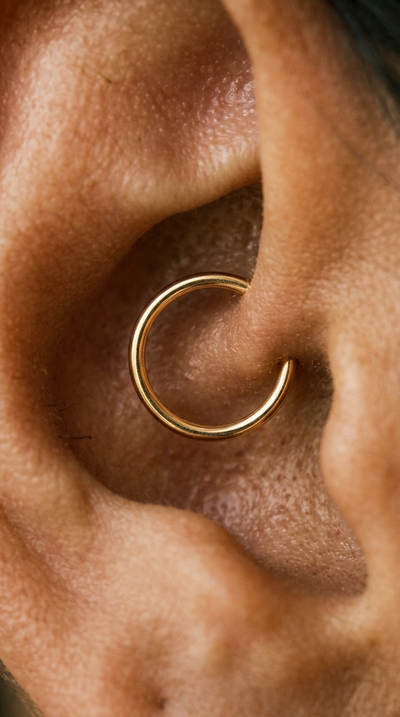
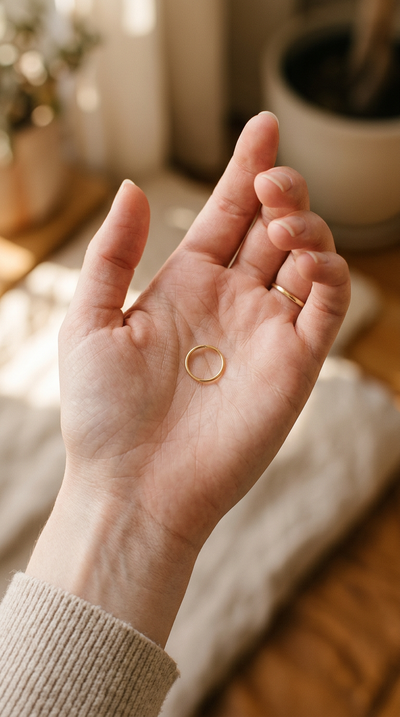
New 14ct solid gold hoop


How to Put In a Daith Hoop: Step-by-Step

- The daith is the most difficult ear piercing to change yourself — the fold is deep, the angle is tight, and visibility is poor
- A hinged clicker is dramatically easier to insert than a seamless ring — strongly recommended for self-changes
- If you want a seamless ring, have your piercer install it the first time
- Only change after full healing: 9–12 months, zero tenderness, zero discharge
- Ring-opening pliers are essential, not optional, for daith seamless rings in 16G
- Good lighting and a magnifying mirror make the difference between frustration and success
Why the daith is the hardest
The daith piercing sits in the innermost fold of the ear — a small, curved crevice of thick cartilage directly above the ear canal. Changing jewellery here is more difficult than any other standard ear piercing for three compounding reasons:
Depth. The fold is recessed deep inside the ear. Your fingers struggle to reach both sides of the piercing simultaneously. Unlike the helix (fully exposed rim) or the tragus (small tab you can grip), the daith fold is surrounded by cartilage walls on all sides.
Angle. The piercing passes through a curved ridge. The entry and exit points are not on a flat surface — they sit on a curved fold that arcs inward. Threading a ring through a curved channel inside a tight space requires precise angle control that is difficult to achieve with fingers alone.
Visibility. You cannot see the piercing hole from a standard mirror angle. The fold faces inward and downward, hiding the entry point. You work largely by feel, which is especially challenging the first time.
Before you start
Confirm healing. Daith piercings take 9–12 months to fully heal. The thick cartilage fold heals slowly. Do not change jewellery until you have had the piercing for at least 9 months with zero tenderness, zero discharge, and zero bumps. Your piercer should confirm readiness.
Confirm your size. Daith hoops are typically 6–8mm in 16G. See our daith hoop size guide if unsure.
What you need
Clean hands — wash thoroughly.
Saline spray — for the piercing and the new ring.
Magnifying mirror on a stand — essential, not optional. You need both hands free, and you need magnification to see inside the fold. A handheld mirror is not enough.
Bright, directional lighting — position a lamp to shine directly into the ear from the side. The daith fold is deep and shadowed. Without focused light, you cannot see the piercing hole.
Ring-opening pliers — essential for seamless rings in 16G. Helpful for clickers too.
Patience and time — allow 20–30 minutes for the first attempt. This is not a 5-minute job.
Removing the current jewellery
Removing a curved barbell
If your daith currently has a curved barbell (the most common initial jewellery), unscrew one ball end by gripping it and twisting counterclockwise. Hold the bar steady with your other hand from the opposite side. Once the ball is removed, slide the bar through and out. The curved shape means you need to follow the arc — do not pull straight.
Removing a clicker
Locate the hinge point (usually at the top of the ring, inside the fold). Use your fingernail or a small flat tool to press the clasp open. The ring swings open on the hinge. Slide it out of the piercing.
Removing a seamless ring
Grip both sides of the join with pliers and your fingers. Twist the ends apart (do not pull). Once a gap appears, slide the ring out of the piercing by rotating it through the channel. This is the hardest removal because you need to grip a small ring deep inside the ear fold.
Method 1: Inserting a hinged clicker
This is the recommended method for self-changes. The clicker’s hinged design means it opens into a straight bar that passes through the channel easily, then clicks shut to form a circle.
Method 2: Inserting a seamless ring
If you prefer the clean, no-hardware look of a seamless ring, this is the process. Be prepared — it is significantly harder than a clicker, and most people need pliers.
Clicker vs seamless: which to choose
| Hinged clicker | Seamless ring | |
|---|---|---|
| Self-insertion | Moderate — doable at home RECOMMENDED | Hard — piercer recommended |
| Time (first attempt) | 5–10 minutes | 20–30 minutes |
| Tools needed | Mirror + light | Mirror + light + pliers |
| Look (plain style) | Identical to seamless from front | Clean, unbroken circle |
| Security | Very secure click mechanism | Secure when properly closed |
| Decorative options | Wide range (gems, designs) | Plain only |
| In 14K gold | Available, slightly heavier | Lightest, most minimal |
Our recommendation: If you want to manage your own daith jewellery changes, use a clicker. If you want the pure, no-hardware seamless look in 14K gold, have your piercer install the seamless ring and leave it in long-term. Both look beautiful — the choice is about practicality, not aesthetics.
Troubleshooting problems
I cannot find the hole
The daith hole faces inward and is hidden by the fold. Pull the earlobe gently downward to open the fold. Angle a phone torch directly into the fold. The hole may be visible as a small dimple or slight discolouration on the inner surface of the cartilage ridge. If you still cannot find it, have a friend look with the torch while you hold the ear.
The ring will not pass through
The daith channel curves with the fold. If the ring meets resistance, you are likely pushing at the wrong angle. Try angling the wire slightly upward or downward to follow the curve of the cartilage. Spray saline to lubricate. If it still will not pass, the channel may have partially tightened — see your piercer.
The clicker will not click shut
The clasp needs to be aligned precisely with the receiving end. Inside the daith fold, this alignment is hard to achieve by feel. Use the mirror to see the clasp, and press firmly until you hear the click. If the clicker repeatedly fails to close, the post may not have passed fully through the piercing — check that both sides of the ring are through the fold.
I cannot close the seamless ring
16G seamless rings in the daith are the hardest rings to close by hand in all of body jewellery. The wire is thick, the ring is small, and the workspace is deep inside the ear. Pliers are non-negotiable. If you cannot get the ends flush even with pliers, have your piercer close it — they can achieve a perfect closure in seconds.
Pain during insertion
Mild discomfort and resistance are normal in the daith — the channel passes through thick cartilage. Sharp pain is not normal. Stop if you feel sharp pain. The piercing may not be fully healed, the gauge may be wrong, or you may be forcing the wire at the wrong angle. Reinsert your old jewellery and reassess.
After insertion
Saline twice daily for 5–7 days. The daith is thick cartilage. Give it a full week of aftercare following any jewellery change.
Do not touch or rotate. The ring sits deep in the fold and does not need to be moved. Let the channel settle around the new jewellery naturally.
Avoid earbuds for 48 hours. Even though earbuds do not directly contact the daith ring, the insertion motion can bump or shift newly placed jewellery.
Sleep on the opposite side for a few nights. Pillow pressure on the ear can shift newly inserted jewellery inside the fold. After 3–5 days, sleeping on either side is fine for a fully healed daith.
Watch for bumps. An irritation bump within the first 1–2 weeks after a daith jewellery change is possible. Continue saline care. If the bump persists beyond 3 weeks, the ring may be the wrong size or the piercing may not have been fully ready for the change.